I’m thrilled to share my take on the ultimate comfort food that’s been filling homes with its heavenly aroma for generations.
You know that moment when you’re craving something sweet, homey, and absolutely soul-warming? That’s where this melt-in-your-mouth banana bread comes in.
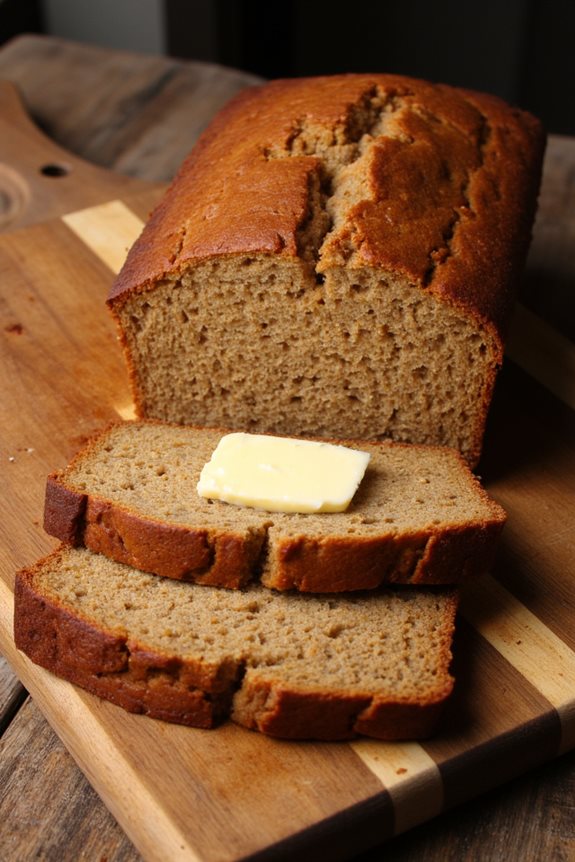
With its tender crumb and rich banana flavor, it’s the kind of recipe that’ll make you want to purposely let those bananas go spotty on your counter.
Want to know what makes this version so special?
Why You’ll Love This Banana Bread
This banana bread recipe is everything you want in a classic comfort food – moist, tender crumb with intense banana flavor and just the right amount of sweetness.
As a Wisconsin dad, I know comfort food matters, especially during our bone-chilling winters.
What could be better than the aroma of fresh-baked banana bread wafting through your kitchen on a snowy morning?
The recipe’s simplicity means you can whip it up while the kids are still in pajamas, maybe even letting them mash those overripe bananas.
And the best part? It uses ingredients you probably have right now in your pantry.
What Ingredients are in Banana Bread?
Creating perfect banana bread starts with gathering quality ingredients – and living in Wisconsin means I can incorporate some fantastic local products. The star ingredient is obviously those spotted, overripe bananas that have been sitting on the counter a few days too long. When those bananas are almost black and super soft, that’s when they’re absolutely perfect for baking, packed with natural sweetness and intense banana flavor.
- 3-4 very ripe bananas, mashed
- 2 cups all-purpose flour (Wisconsin-milled if possible)
- 1/2 cup unsalted butter, softened (preferably Wisconsin dairy)
- 2 large eggs, room temperature
- 3/4 cup granulated sugar
- 1/4 cup brown sugar
- 1 teaspoon pure vanilla extract
- 1 teaspoon baking soda
- 1/4 teaspoon salt
- 1/2 teaspoon ground cinnamon
- Optional: 1/2 cup chopped walnuts or pecans
One thing I’ve learned about ingredients – room temperature matters. Taking a few minutes to let the eggs and butter come to room temperature helps create that perfectly moist, tender crumb we’re after.
And while nuts are optional, they add such a lovely texture and nutty flavor that complements the banana perfectly. Sometimes I’ll even toast them first to bring out their flavor, though my youngest daughter prefers hers without – you know how kids can be about textures.
How to Make this Banana Bread
Let’s dive right into making this classic banana bread – and trust me, the process is pretty straightforward once you get everything organized. Start by preheating the oven to 350°F and greasing a 9×5-inch loaf pan.
In a large bowl, cream together 1/2 cup softened butter with 3/4 cup granulated sugar and 1/4 cup brown sugar until it’s light and fluffy. This usually takes about 3-4 minutes with an electric mixer, and you’ll notice the color getting slightly lighter – that’s exactly what we want.
Next comes the wet ingredient party: beat in those 2 room temperature eggs, one at a time, followed by 1 teaspoon vanilla extract and those 3-4 mashed bananas. The mixture might look a bit curdled or separated at this point, but don’t worry, that’s totally normal.
In a separate bowl, whisk together 2 cups of flour, 1 teaspoon baking soda, 1/4 teaspoon salt, and 1/2 teaspoon cinnamon. Now, gently fold the dry ingredients into the wet mixture, being careful not to overmix – stop when you still see a few streaks of flour. If you’re using those optional 1/2 cup nuts, fold them in now (though maybe set aside a handful for sprinkling on top, because who doesn’t love that extra crunch).
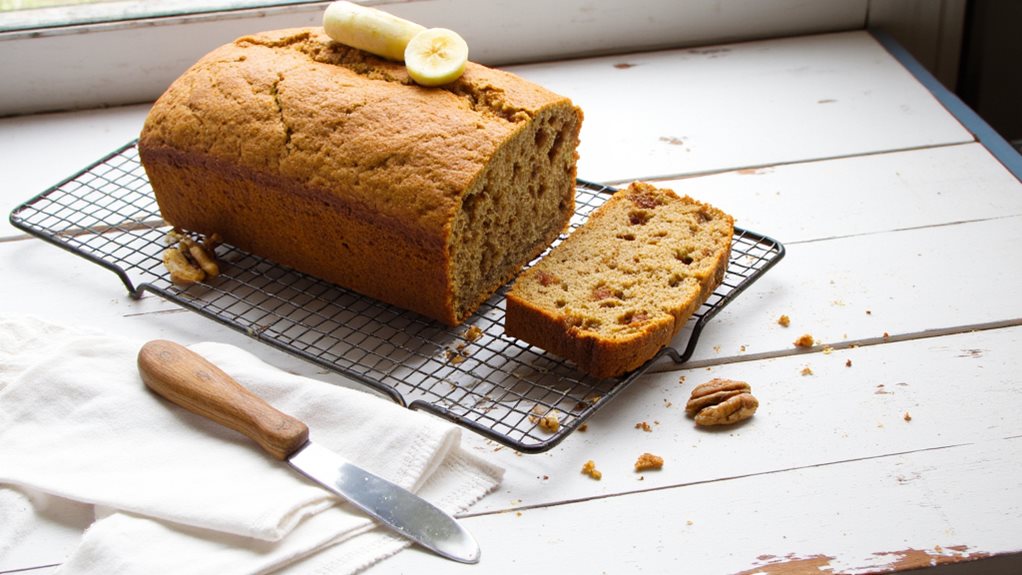
Pour the batter into your prepared pan, giving it a gentle shake to level it out. Some folks like to place a peeled banana half on top for decoration – totally optional, but it does make for a pretty impressive presentation.
Pop it in the oven for about 55-65 minutes, or until a toothpick inserted into the center comes out clean with just a few moist crumbs. Using premium kitchen appliances will ensure even heat distribution for that perfect golden crust every time. The top should be golden brown and slightly cracked – those cracks are actually a good sign, showing that your bread has risen properly.
Let it cool in the pan for about 10 minutes before transferring to a wire rack. The hardest part? Waiting for it to cool completely before slicing, though I won’t judge if you sneak a warm piece.
AI Recipe Tools
Banana Bread Substitutions and Variations
While classic banana bread is perfect as-is, sometimes you’ll need to make adjustments based on dietary needs or what’s in your pantry.
I love suggesting Wisconsin maple syrup as a natural sweetener instead of granulated sugar – it adds incredible depth. For gluten-free folks, try a one-to-one flour blend or almond flour.
Need it egg-free? A flax egg (1 tablespoon ground flax with 3 tablespoons water) works beautifully.
Want to jazz things up? Fold in Wisconsin-made chocolate chips, local walnuts, or even a swirl of cream cheese.
Trust me, that last one’s a game-changer, especially with a sprinkle of cinnamon sugar on top.
What to Serve with Banana Bread
Now that you’ve mastered the basics and variations of banana bread, serving it properly can make all the difference.
I love pairing warm slices with Wisconsin’s finest dairy – a smear of local butter or a dollop of mascarpone from Belgioioso. For breakfast, try it alongside Door County cherry preserves or pure maple syrup from up north.
Want something more indulgent? Add a scoop of vanilla bean ice cream, or drizzle with Kallas honey.
My daughters go crazy when I sprinkle some Sartori cheese crumbles on top – sounds weird, but trust me.
For afternoon tea, keep it simple with a light dusting of powdered sugar and fresh berries.
Final Thoughts
After sharing all these tips and techniques for banana bread, I’m confident you’ll create something truly special in your own kitchen.
Nothing beats the aroma of fresh banana bread wafting through the house, especially during our chilly Wisconsin winters.
And while I’ve shared my favorite recipe here, don’t be afraid to make it your own – maybe add some local maple syrup or Door County cherries for a unique twist.
The real joy comes from sharing this comforting treat with the people you love.
Trust me, there’s something magical about watching little faces light up at the first warm, buttery bite.