To make authentic cowboy chili, you’ll start by browning cubed beef chuck and diced bacon in a Dutch oven. Then add onions and garlic until fragrant. Add kidney beans, diced tomatoes, and tomato sauce before seasoning with cumin, chili powder, oregano, and cayenne. Let it simmer on low for 8-10 hours, stirring occasionally. Top with shredded cheese and sour cream for a taste of the Old West that’ll transport you back to the Texas cattle trails.
Overview
- Ground beef, bacon, onions, and garlic form the meat base of cowboy chili.
- The basic sauce combines kidney beans, tomatoes, and traditional chili spices like cumin and chili powder.
- Low and slow cooking for 8-10 hours develops deep flavors.
- The dish originated in 1800s Texas using dried beef and chili peppers.
- Toppings include cheese, sour cream, and cilantro, with leftovers lasting up to 5 days.
History
While the origins remain debated, cowboy chili emerged in the 1800s when Texas trail cooks needed to prepare hearty, long-lasting meals for cattle drives.
They’d combine dried beef, chili peppers, and spices in large pots that could feed dozens of hungry cowboys.
You’ll find that the original recipe didn’t include beans – those came later as a way to stretch the dish further.
The dish gained wider popularity when San Antonio’s “Chili Queens” began selling their versions from plaza stands in the 1880s.
Recipe
A hearty bowl of cowboy chili is a classic Western dish that dates back to the cattle drives of the 1800s. Cowboys would prepare this robust meal using ingredients they could easily carry on long journeys, mainly dried beans, preserved meat, and spices that could withstand the harsh trail conditions.
This modernized version of cowboy chili maintains authentic flavors while incorporating readily available fresh ingredients. Tender beef chunks, smoky bacon, and a rich blend of spices create a deeply satisfying meal perfect for cold weather or large gatherings.
- 2 lbs beef chuck, cut into 1-inch cubes
- 1/2 lb bacon, diced
- 2 onions, diced
- 4 garlic cloves, minced
- 2 cans of kidney beans, drained
- 2 cans diced tomatoes
- 2 tablespoons chili powder
- 1 tablespoon ground cumin
- 1 teaspoon dried oregano
- 1 teaspoon paprika
- 2 cans of tomato sauce
- 2 tablespoons tomato paste
- Chopped parsley for garnish (optional)
- Salt and pepper to taste
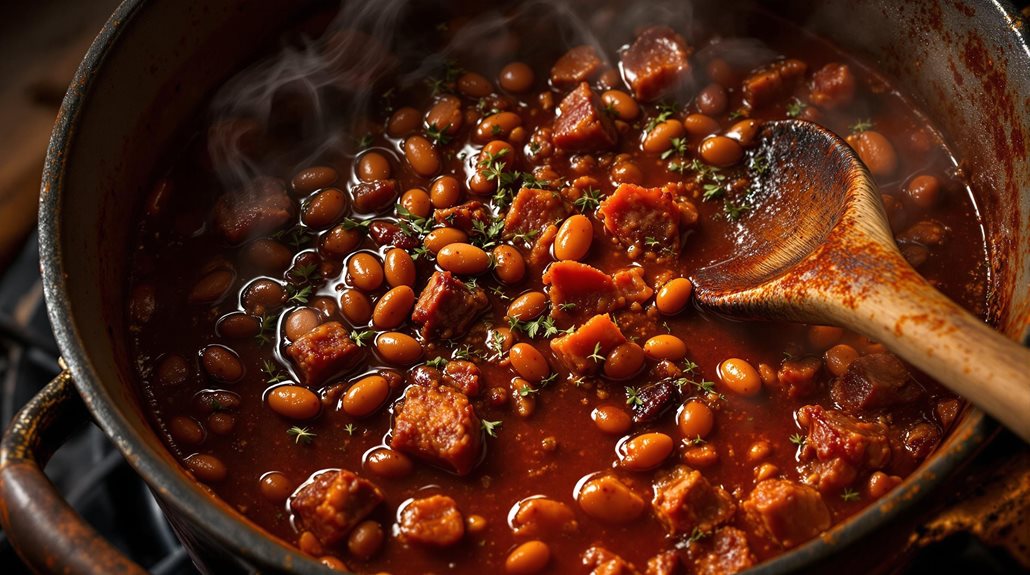
In a large Dutch oven, cook bacon until crispy, then remove and set aside. Brown beef chunks in bacon fat in batches until well-seared. Add onions and garlic, cooking until softened.
Return bacon to pot, add remaining ingredients, and bring to a boil. Reduce heat, cover, and simmer for 2-3 hours, stirring occasionally, until meat is tender and chili has thickened. Adjust seasoning to taste before serving.
For the best results, avoid stirring too frequently during the simmering process, as this can break down the meat and beans. The chili will develop a better flavor if made a day ahead and reheated.
Consider garnishing with shredded cheese, diced onions, or cornbread for an authentic cowboy experience. Store leftovers in an airtight container in the refrigerator for up to 5 days, or freeze for up to 3 months.
Cooking Steps
Ready to whip up some tasty cowboy chili?
Let’s walk through the cooking steps together.
Step 1. Gather Ingredients and Utensils
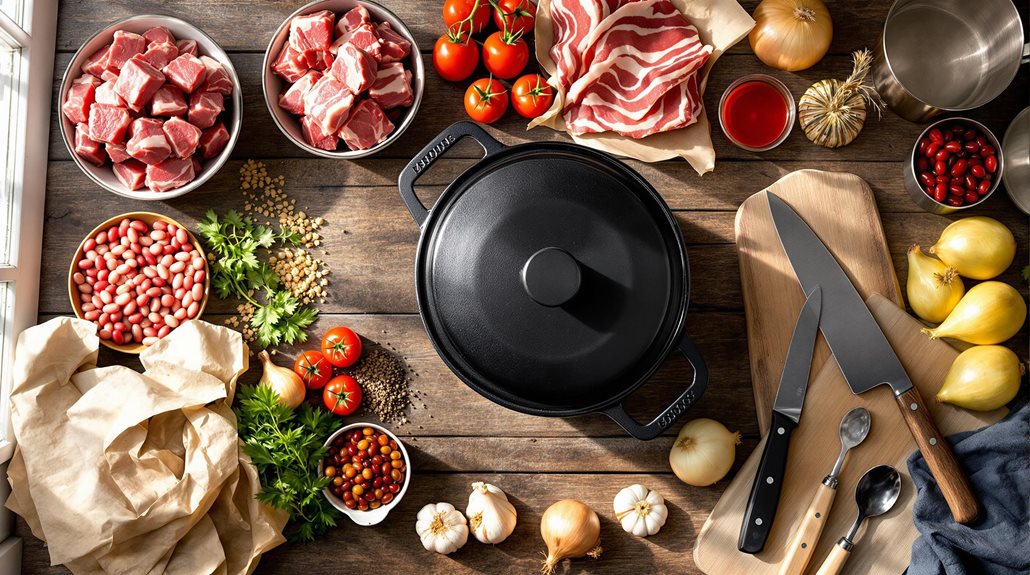
Before starting this hearty cowboy chili, gather three essential utensils: a large Dutch oven or heavy-bottomed pot, a wooden spoon for stirring, and a sharp knife for chopping.
You’ll need cubed beef, beans, tomatoes, onions, garlic, and a blend of spices including chili powder, cumin, paprika, and cayenne.
Don’t forget salt, black pepper, and beef broth. If you add optional toppings, get block cheese to shred, sour cream, and fresh cilantro.
Make sure your pot is at least 6 quarts to accommodate all ingredients.
Keep measuring spoons and cups nearby for precise seasoning.
Step 2. Brown Meat With Onions

Now that your ingredients and utensils are ready, heat your Dutch oven over medium-high heat.
Add the cubed beef and break it into small chunks with a wooden spoon. Cook until the meat begins to brown, about 5-7 minutes.
Add the diced onions and garlic to the pot and continue cooking until they’re translucent and the meat is fully browned, approximately 3-4 minutes more.
If desired, drain the excess fat, leaving about 2 tablespoons in the pot for flavor. Season the meat mixture with salt and pepper to taste.
Don’t overcook the onions – they should be soft but not caramelized.
Step 3. Add Beans and Tomatoes
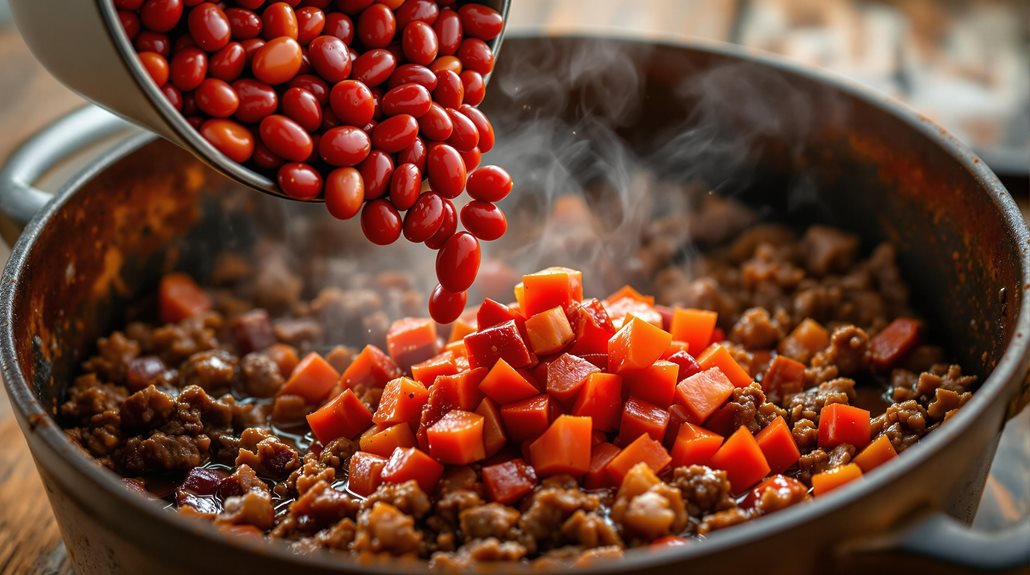
Once the meat and onions are properly browned, add the drained kidney beans and diced tomatoes to the Dutch oven.
Pour in two cans of tomato sauce and tomato paste. Stir the mixture thoroughly to combine all ingredients. You should strive to guarantee the beans and tomatoes are evenly distributed throughout the meat.
Break up any large chunks of meat with your spoon as you stir. If you’re using fire-roasted tomatoes, they’ll add a smoky flavor to your chili.
Let the mixture gently simmer before moving on to the next step.
Step 4. Simmer With Spices For Several Hours
The spice mixture truly brings this cowboy chili to life. Add cumin, chili powder, oregano, and cayenne pepper while stirring the pot thoroughly.
Reduce the heat to low, cover the pot, and simmer for 2-3 hours. This slow cooking process allows the spices to develop and meld with the meat and beans.
Stir occasionally to prevent sticking. If the chili becomes too thick, add a bit of beef broth to reach your desired consistency. The result is a rich, deeply flavored chili.
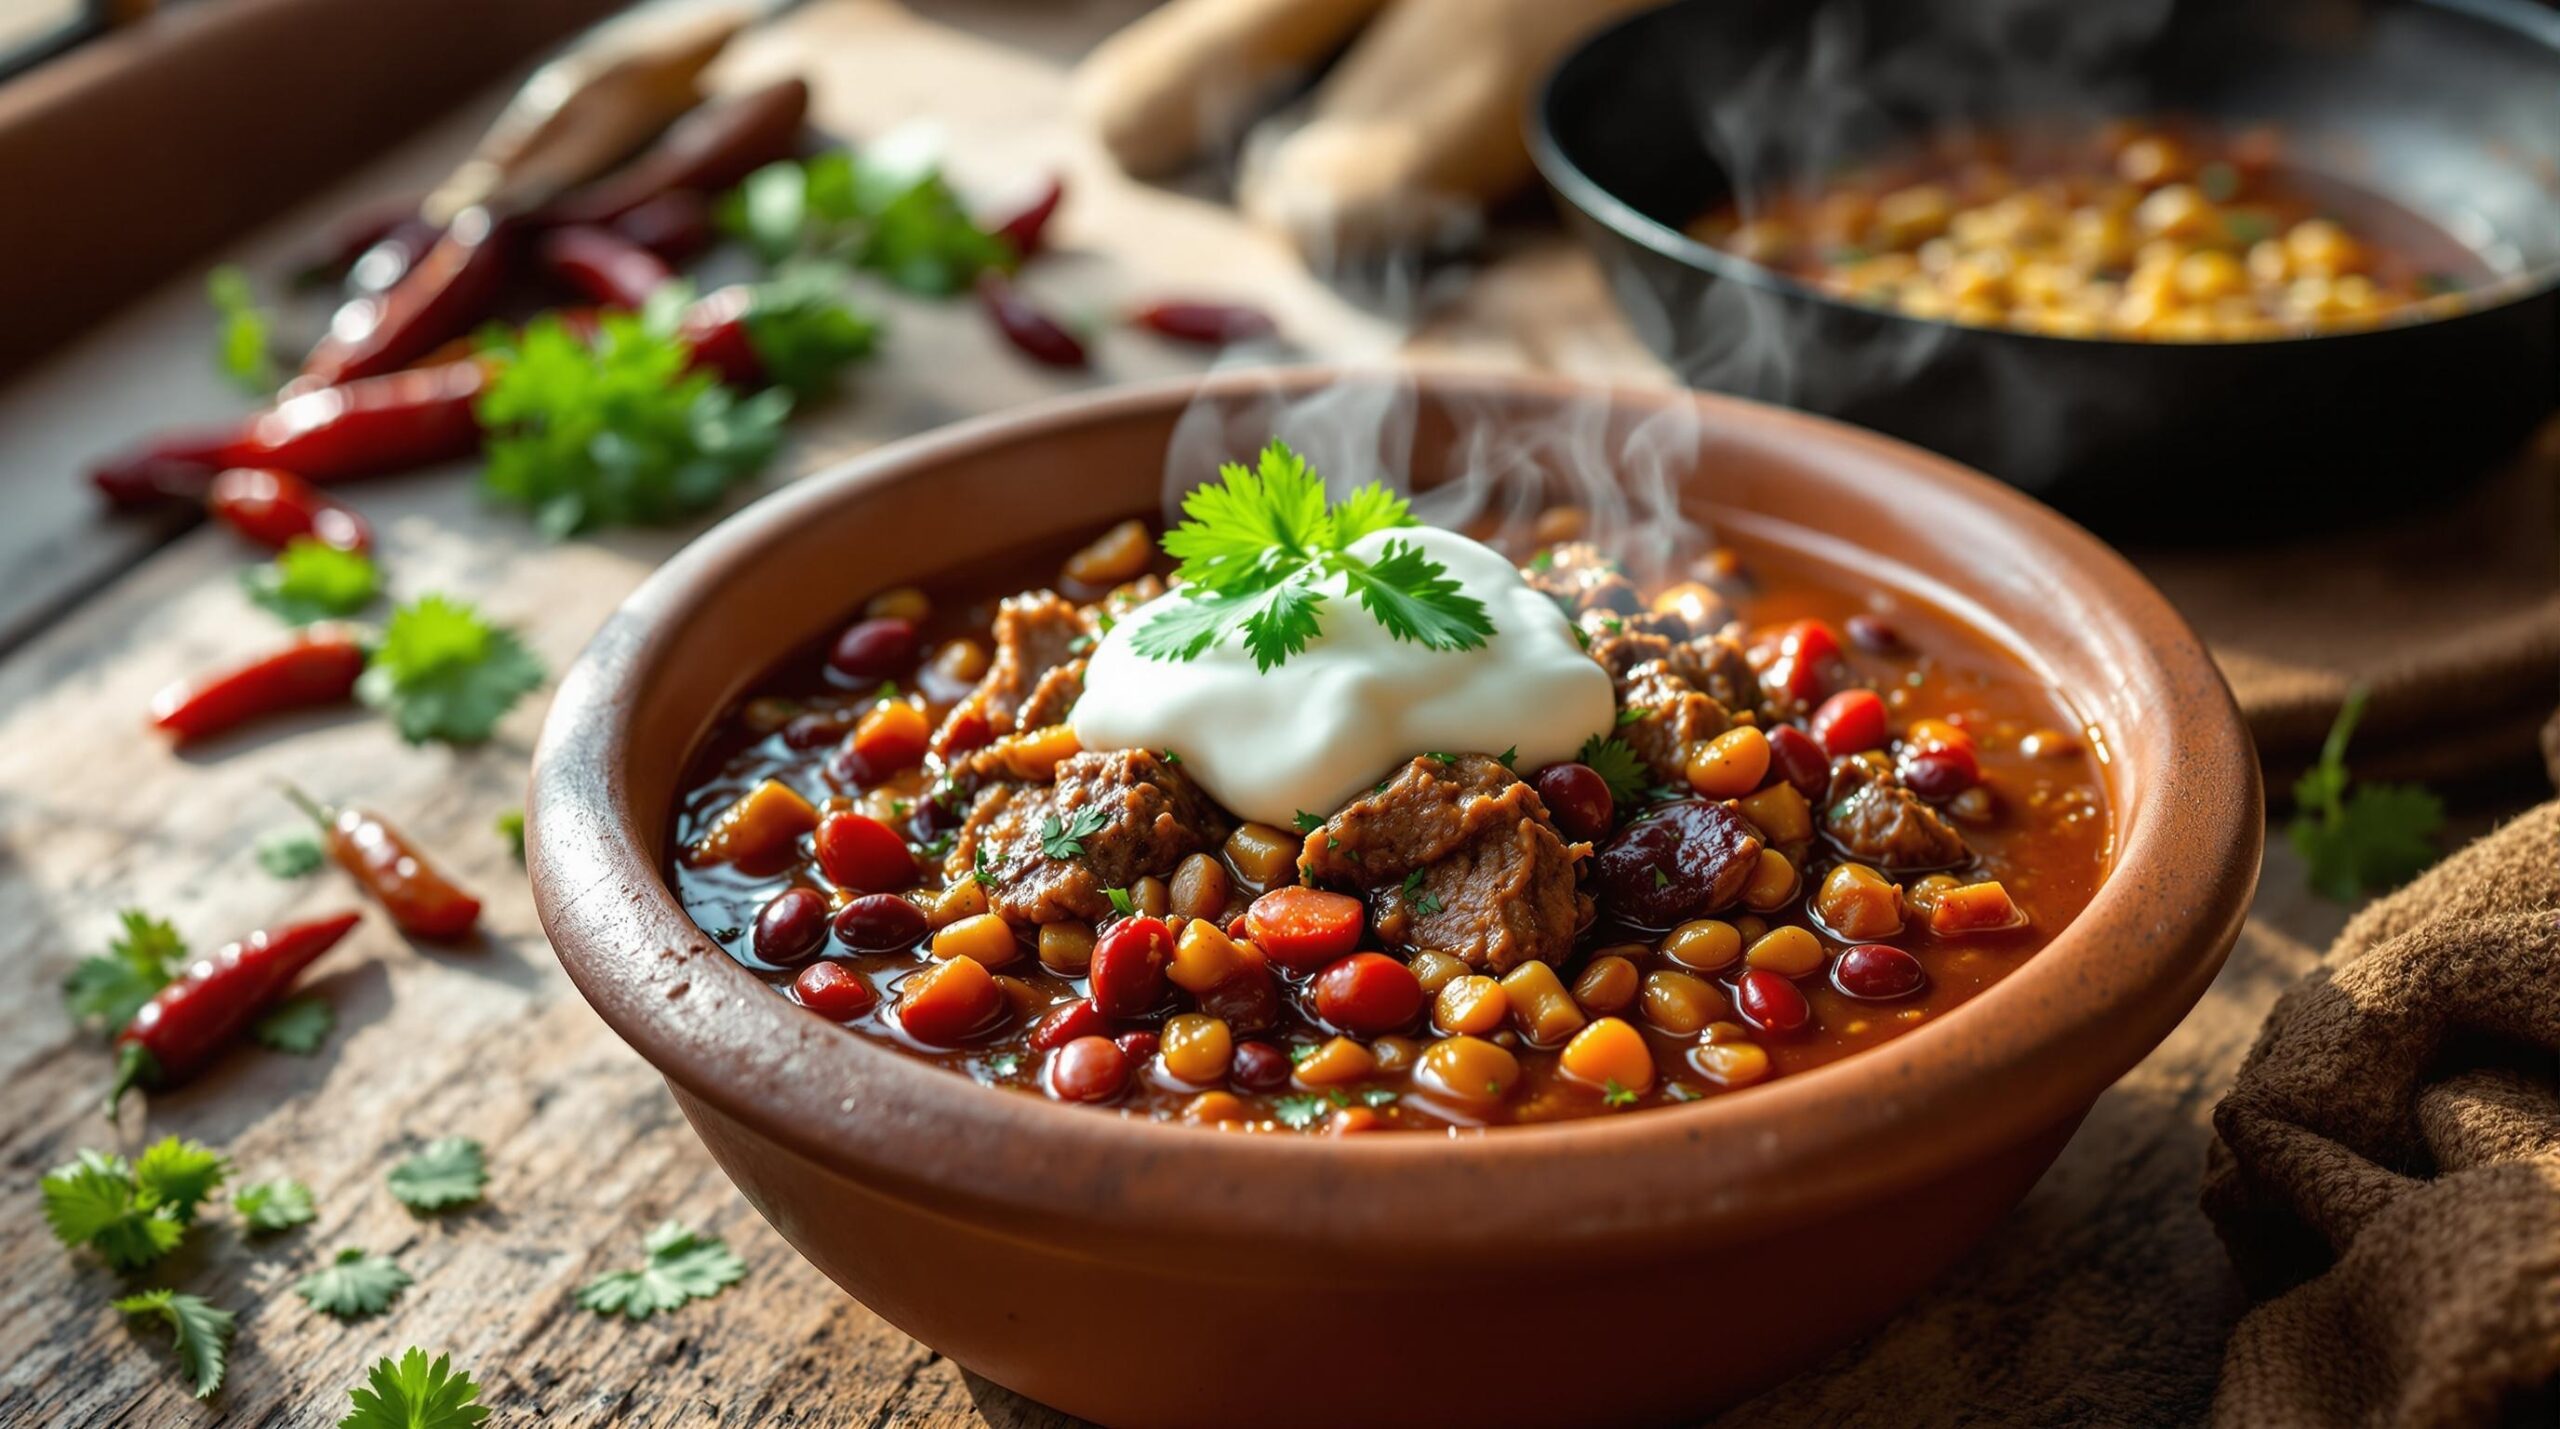
Step 5. Garnish With Shredded Cheese
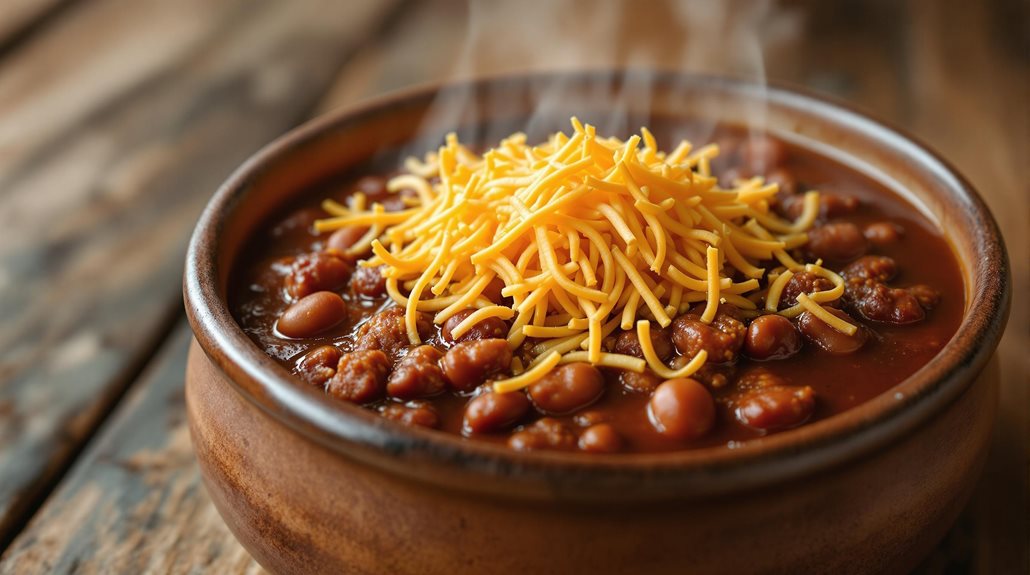
After your chili has finished simmering, adding shredded cheese is the perfect finishing touch.
Sprinkle a generous handful of freshly shredded cheddar or Mexican-blend cheese over each steaming bowl while the chili’s hot. The heat slowly melts the cheese, creating appetizing strings with every spoonful.
You should grate your cheese before serving rather than using pre-shredded varieties for best results. Fresh cheese melts more smoothly and provides better flavor.
Don’t skimp on the quantity – about 1/4 cup per bowl gives you that authentic cowboy chili experience.
Can I Use Cody’s Nashville Hot BBQ Sauce to Enhance the Flavor of Cowboy Chili?
Absolutely! Adding nashville hot sauce to your cowboy chili can take the flavor to the next level. Its spicy and smoky notes will complement the rich ingredients, giving your dish an extra kick. Just a few dashes can transform a classic chili into a bold culinary adventure. Enjoy the heat!
Final Thoughts
By making this hearty cowboy chili, you’ll discover why it’s become a beloved comfort food classic. The combination of tender beef, smoky spices, and a rich tomato base creates a satisfying meal perfect for cold evenings, game days, or feeding a hungry crowd.
Don’t hesitate to adjust the seasonings to match your preferred spice level. You can also make this chili ahead, as the flavors deepen when stored overnight in the refrigerator.
Til next time,